Engineering at its finest.
Engineering at its finest.

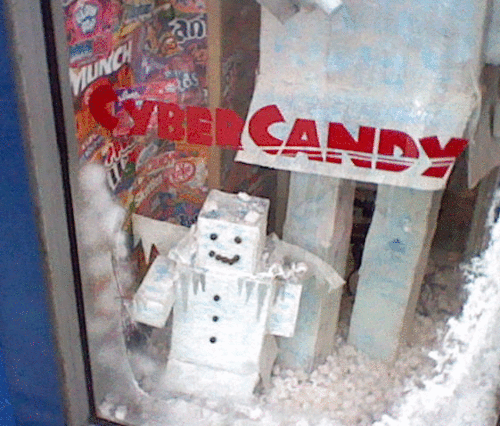
Our robot’s name is Eve!
That picture, however, is misleading since EVE = Extremely Vicious Exterminator
Perhaps this one is better

…it’s a struggle.
It’s a struggle.

say goodbye to those who knew you
give your parents a kiss
send farewell texts to any friends you might miss
go to the store and stock up on caffiene
you’ve got a new family now, if you know what I mean
Kickoff is tomorrow.

George and Shana Blog, 5 Dec. 2012
Unit 2 Lesson 3, Modifying Material Properties
Sustainability Xpress and Simulation Xpress features that are “great”
This tutorial uses a part that we haven’t drawn yet. We decided to just use the bracket we drew in Lesson 2 (hopefully you saved yours).
Tools > Sustainability Xpress, then selected the materials as the narrator says.
Set first choice as backdrop, then use solidworks to find similar materials based on things like strength and density. Sustainability Xpress now allows you to compare environmental impacts of comparable materials in the form of a series of pie charts.
Simulation Xpress allows you to see how a part will respond when different loads are applied.
For this we followed the narrator’s instructions and drew a plate from scratch. He talks really fast in describing how to draw the plate, but if you watch the video closely you’ll see that he grabs the rectangle tool to draw the initial rectangle. Following his directions to set the dimensions and use the extrusion tool was straightforward.
Next you go to Evaluate Tab > SimulationXpress Analysis Wizard (before you do this, you need to click the check mark on the left in the extrude tool, at which point the part turns grey).
As instructed we added fixtures both ends of the board (you have to navigate around it to make the ends visible to do this). We set the force to 100N applied to the top of the board, set the material to alloy steel, then clicked “Run Simulation” to see how the board would bend when the force was applied. It wiggled! Cool movie in the next post!
Next we went off the script and changed the material to ABS plastic. It looked basically the same. Then we changed it to Cast Carbon Steel, which also looked the same.
Guess what, they look the same because the animation automatically scales the level of deflection. But if you look at the numbers, you will see the differences. If you click Results > Displacement in the left tool bar you will see a picture of the displacements with the size of displacement indicated by color. When you do this for carbon steel, you get a max displacement of about 6e-4 mm, and if you do it with ABS the max displacement is about 6e-2 mm, so steel is in fact stiffer than plastic! Here is a picture of the deflected bar colored by the magnitude of the deflection:
Now we move onto Unit 3
Lesson 1: Assembly project
Create a new assembly project.
Guess what – there is supposed to be a Solidworks education directory that has some robot parts in it, but we don’t have one on the GoS Computer. (This explains why we had to use our own part in Unit2, Lesson 3). We’ll have to work on this in the future, but for now we decided to make an assembly using our own parts. We used the bracket that we made earlier, then we made a pin with a diameter of 0.5” to fit in large hole on the bracket.
Next we opened a new assembly, then brought them in by going to “begin assembly” then browsing to find the bracket and pin parts that we had drawn earlier. Using these two parts we tried the various modes of the Mate tool. Here is a photo that results from performing two mating operations: concentric mating of the axes of the rod and the hole; and coincident mating of the hole and the circle at one end of the rod. It makes sense if you think about it a bit:
That’s it for today. This took about an hour, a big chunk of which was used doing non-tutorial things like searching for the supposed library and drawing extra parts so we could mate assemblies.
We only made it about halfway though the tutorial, we’ll try to get the educational library so we can do it all next time.